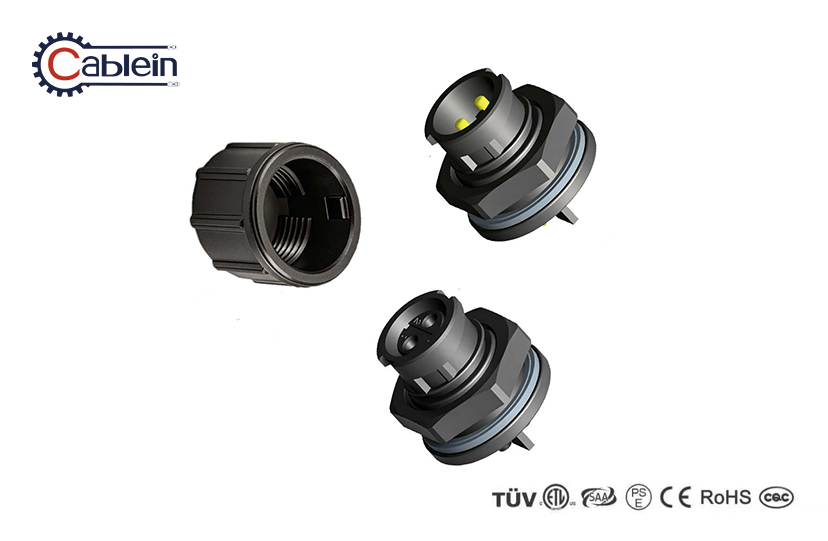
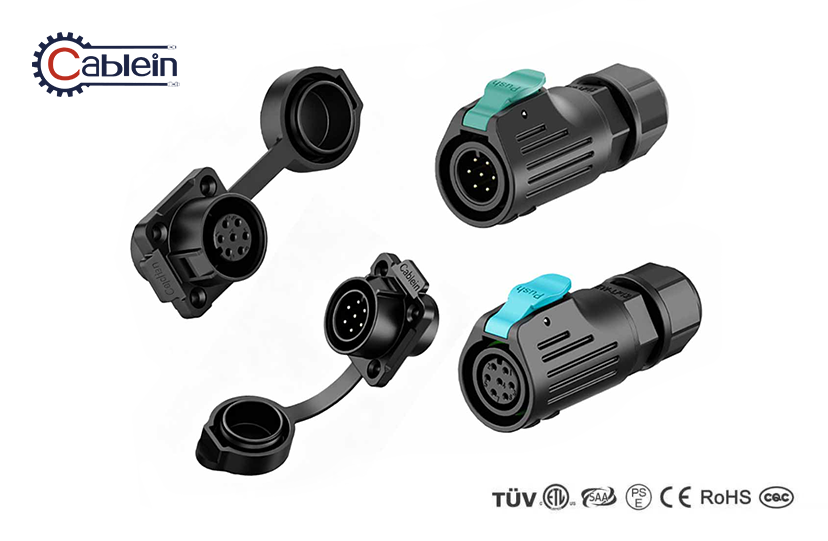
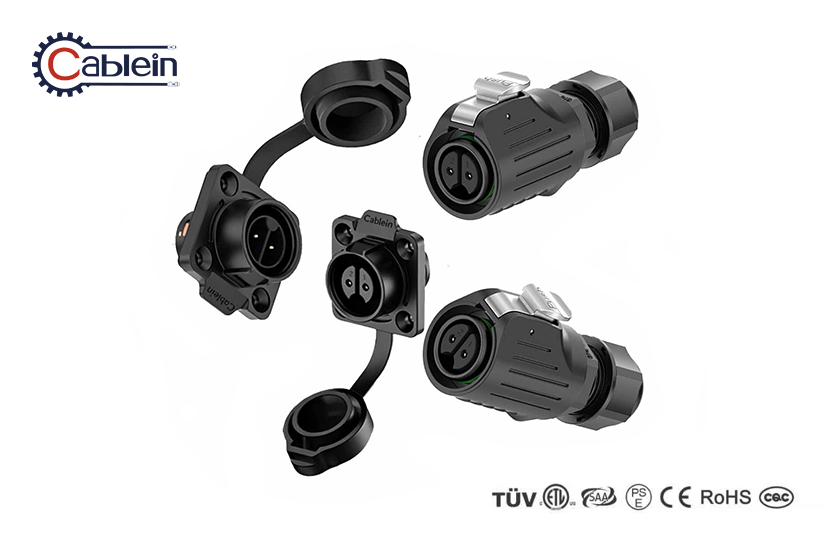
How to properly install an M10 PA66 waterproof power connector?
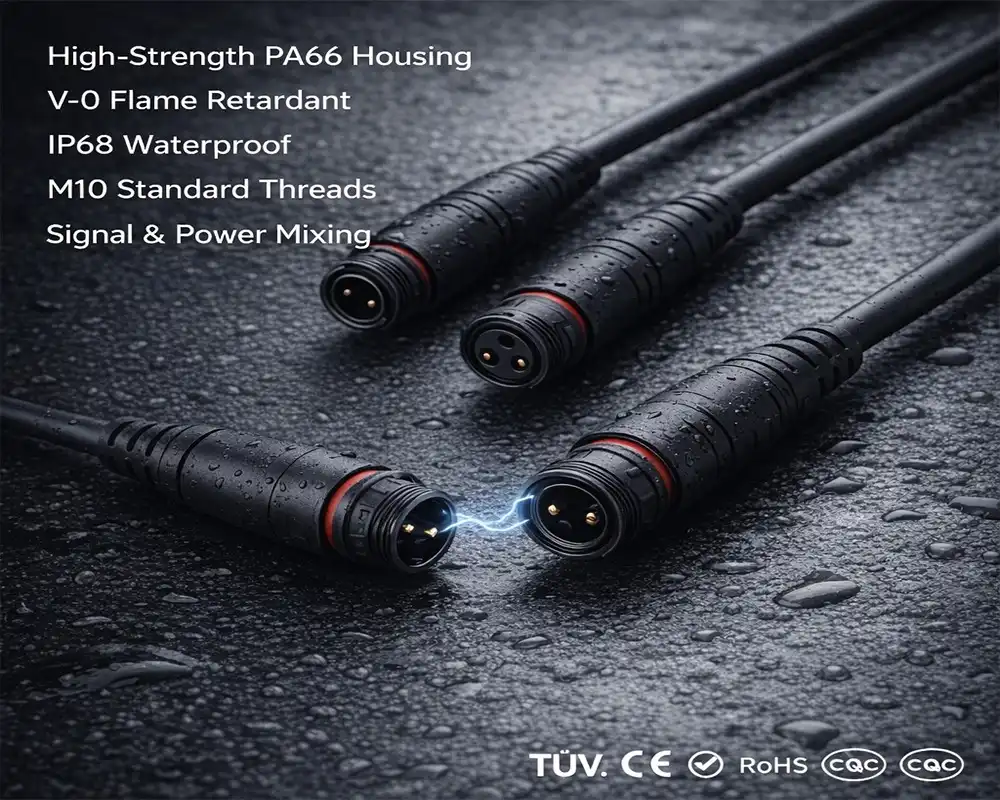
Putting in an M10 PA66 waterproof connector the right way is very important if you want your electrical system to work well in harsh industrial settings. This small link has a 10mm metric thread and a PA66 nylon shell. It has an IP67 or IP68 grade, which means it is safe to send power through. To fix something properly, you need to make sure all the parts are there, prepare the wires carefully, use the right amount of power to keep the seal in place, and make sure the waterproofing works well. If you put these connections in the right place, outdoor LED lights, solar systems, and industrial automation gear that is exposed to rain, vibration, and extreme heat or cold can stay linked for a long time.
Understanding the M10 PA66 Waterproof Power Connector
What Makes PA66 Nylon the Material of Choice
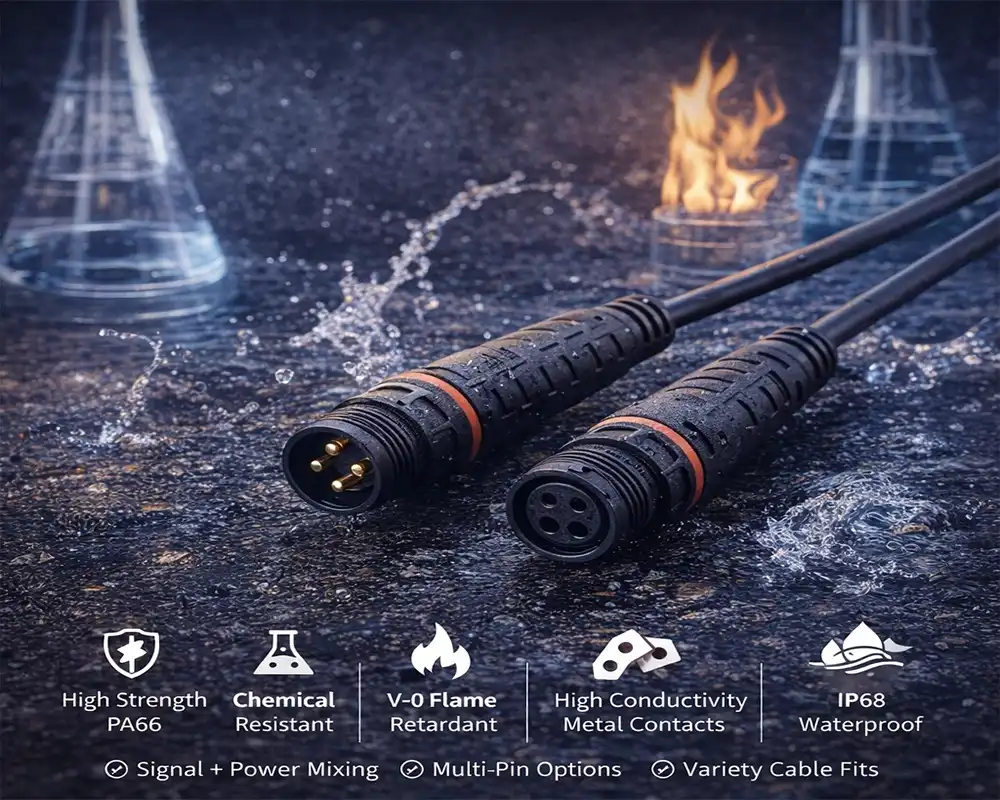
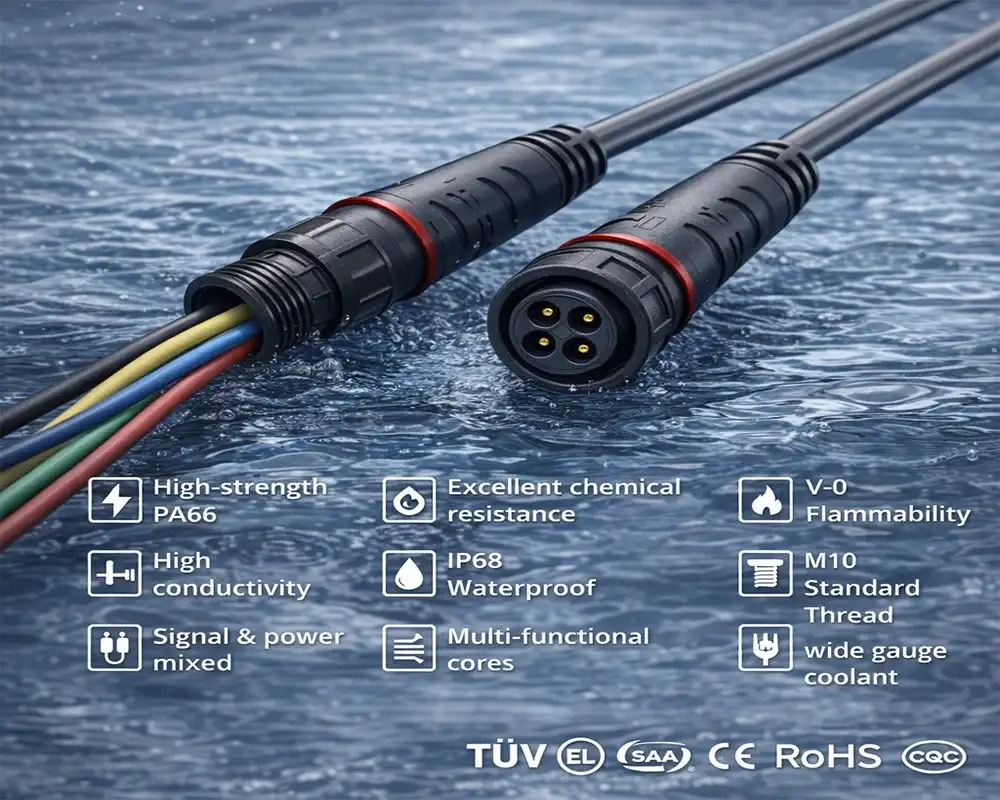
When it comes to engineering, PA66 nylon is great because it is both strong and stable at high temperatures. Normal plastics break down quickly when they are hit with UV light or when the temperature changes. On the other hand, PA66 stays shaped in a wide range of temperatures, from -40°C to 150°C. When putting plugs in solar farms in the desert or outside security systems that get very cold, this thermal resistance is important. Also, common industrial agents like hydraulic fluids and oils can't break down the material. This makes it great for places in workshops where machines are used and there are a lot of spills.
Inside the PA66 shell of Cablein's connections are gold-plated brass pins that don't rust and are very good at moving electricity. The gold finish stops the metal from rusting, even in places near the sea where it's very humid, and the brass core makes sure that the touch resistance is less than 5mΩ. When used in farms or the sea environment, connectors often break because the pins rust. That problem is fixed by this two-material method.
Core Technical Specifications You Need to Know
It will help you find the right M10 PA66 waterproof connectors for your project if you know what they look like. The M10 line is what we make. The pin arrangements can be changed from two to six contacts so that different voltage and current needs can be met. The 2-pin and 3-pin types can both handle up to 80V and 8A, which means they can be used for sensor networks and LED lighting grids. The 4-pin to 6-pin types, on the other hand, can handle 5A at 60V, which is enough for industrial computer control signals.
Very little electricity flows through it, even when it's wet, because the insulation resistance is up to 200MΩ. A 1KV test voltage can be sent through the link. This makes low-voltage systems safer when they are close to high-voltage equipment. There is more to these specs than just numbers on a piece of paper. They have a direct effect on how reliable the system is when it rains and floods an outdoor switch box or when dew forms in the morning inside a cage.
Preparing for Installation: Key Considerations and Tools
Common Installation Challenges and How to Avoid Them
The main reason M10 PA66 waterproof connectors don't work is because they aren't covered properly when they are put together. Many people think that water resistance is secured when they screw two link halves together. But to get IP67 protection, you need to pay attention to how tight you need to tighten the screws and how the seal is doing. The rubber O-ring can get crushed if you tighten it too much, letting water in. When you tack down too little, the O-ring has holes in it that let water in. In the field, techs who put together connectors that were meant to last for weeks under water have broken them within weeks because they didn't use the right torque tools.
Another weakness is that moving wires put a lot of stress on their bodies. There is stress at the cable entry point caused by sharp turns close to the connection body. This breaks the wire inside the overmolding in the end. If you plan cable lines with enough bend radius—usually at least 10 times the width of the wire—you can avoid this kind of failure. If you're setting up something outside, you need to make sure it has the right strain release because changes in temperature make stress worse.
If the area where the seal is being fitted is dirty, it will not work as well. It is not possible for gasket contact to happen if there is dust, dirt, or cable lube on the areas that close. Isopropyl alcohol can be used to clean parts before putting them together. This gets rid of rust and other things that could cause leaks. This step of getting ready only takes a few minutes, but it makes connections last a lot longer in dirty industrial or farming areas.
Essential Tools and Materials for Professional Installation
Crimpers that are made for the right type of pin are used to make secure electrical connections. If you use generic bonding tools, they might not squeeze hard enough, which could lead to high contact resistance or links that don't stay together all the time. For large solar panels or LED lighting projects with a lot of connectors, ratcheting crimpers are important because they make sure that the crimp force is the same on all of them.
When used with torque tools that are set up according to the manufacturer's directions, the mechanical security is maintained and the seal integrity is kept. Digital torque tools make a noise when you reach the desired force. This makes it less likely that different workers will get it wrong. With cable cutters that have depth stops that can be changed, you can keep the insulation from getting damaged and the wires from getting nicks that could cause problems in the future.
Special dielectric grease or silicone caulk that works with PA66 material can help seal threaded parts better. The silicone seals and nylon covers are not hurt by these chemicals, so they can fill in tiny holes between the threads. We recommend things that stay flexible across the whole range of temperatures they can be used in. This keeps the joint from getting hard, which can happen when the oils don't work well together in cold places.
Step-by-Step Installation Guide for M10 PA66 Waterproof Connectors
Initial Inspection and Component Verification
Make sure that the connector's specs fit your project before you start using it. Check that the number of pins, voltage level, and current capacity match what you need for your system. When connectors don't match up, they can be dangerous and break quickly. Look at all of the parts in good light to see if the casting is flawed, the threads are broken, or the seals are squished. Even though Cablein's factory-assembled connectors are carefully checked, damage can happen during shipping, and they need to be changed before they can be used.
Look for cuts, scrapes, or chemical damage on the wire's jacket that could let water move along the conductors. It can handle wires that are 3 mm to 6.5 mm in diameter. Connections that are too small or too big won't seal properly. To make sure it works, use scales to measure how thick the wire is. Also, pay attention to the weather where the work will be done. Wires and plugs can become stiff in very cold temperatures, and materials can become soft in very hot temperatures. Try to plan installations for times when the temperatures are normal.
Conductor Preparation and Secure Termination
For crimp-style pins, the wire's covering should be taken off until it is the exact length specified in the fitting instructions. Most of the time, this is 5 to 7 mm. Too much wire that can be seen can lead to short circuits, and not enough length can stop the right crimp contact. Use wire strippers with depth numbers instead of strippers that look like knives and can cut individual strands. If strands are broken, they lower the current and create weak spots when the wire is shaken.
Once you're done pulling, check the wire strands for breaking or cuts. Before you put single leads into crimp pins, give them a light twist to connect the wires. When you connect things the right way, you make a link between the mechanical and electrical parts that won't break down over time. During the whole ratchet cycle, keep the crimp tool straight across from the junction pin and press down hard and steadily. Even though incomplete crimps look even, they don't have enough compression, which makes them produce more resistance and heat when they're used.
When you connect something, gently pull on the wire to make sure it doesn't come off the pin. This mechanical test finds crimps that aren't tight enough before the whole thing is put together. By following the picture of polarity, you should put pins into the connection housing and make sure that each one clicks tightly into its spot. When you change the polarity of your wires, you can damage your equipment, so check the colors of your wires again against your wiring plan.
Achieving IP67/IP68 Waterproof Protection
The rubber close ring is the main safety feature when it is put in the right place. Before putting the parts together, look for cuts, flat spots, or dirt on the O-ring. You should clean the O-ring groove and sealing surfaces with isopropyl alcohol. After cleaning, you should let the alcohol dissolve all the way so that there is no alcohol left behind. When you join the two pieces, make sure the O-ring is tightly in its groove so it doesn't twist or roll.
Cover threads and close surfaces with a thin film of dielectric grease. With this lube, the threads can connect more easily, and any small flaws on the surface that could let water in are filled. Use just the right amount of grease to cover the surface. Too much grease makes it dirty and doesn't help seal it. When you engage the threads, it should feel smooth and steady. Cross-threading hurts both parts if they feel stuck or hard to turn.
To make the link tighter, use the given force number. This is generally between 1.5 and 2.5 N⋅m for M10 threads. It's just the right amount of pressure to seal the O-ring waterproof without putting too much stress on the PA66 threads. Tightening by hand doesn't put enough pressure on it, and too much force breaks the threads or permanently changes the shape of the seal. If you use a torque wrench, you don't have to guess, so any worker can get the same results in any setting.
Testing and Quality Verification Methods
After putting it all together, look at the link to make sure it's right. When you press the two halves of the linked line together, there shouldn't be any space between them. Check to see if the cable strain relief can hold the wire's weight without bending too much at the connection point. Electricity continuity testing makes sure that the pin-to-pin connections are right before the circuit is turned on. Test between the pins on two matched plugs with the voltmeter set to continuity mode. In order to fix an open circuit, the binding or pin placement must be redone.
You can work without worrying when you test something for waterproof support in wet or outdoor places. After putting the final piece in water for 30 minutes, take it out and look inside to see if there is any water. These tests find mistakes in how the M10 PA66 Waterproof Connector is put together before it is sent out into the field. This keeps the costs of problems and service calls low.
Maintenance, Troubleshooting, and Longevity Tips
Proactive Inspection and Cleaning Protocols
Set up times to check in regularly based on how bad things are. Outside installations that are exposed to the weather should be visually checked every three months. On the other hand, indoor industrial installations may only need to be checked once a year. During checks, look for darkening or cracks in the wire jacketing close to the connections. These could be signs of UV damage. Check to see if the strain reliefs are still in place and that the wires can bend without being overworked.
Clean the linking housings with water and light soap to get rid of built-up dirt, salt residue, or chemicals from work. You shouldn't use chemicals that break down PA66 or pressure cleaners that force water past seals. Once the seal is clean, check the O-rings for cuts or sets of steady compression. If you see any of these, the seal needs to be changed. As part of normal upkeep, seals are changed so water can't get in between inspections.
Note down when each M10 PA66 waterproof connector was put together and the last time it was repaired. This records events so that patterns can be found when things go wrong. It also helps figure out how long the service will last. If you leave plugs outside in bad weather for 10 to 15 years, you might want to get new ones, even if they don't crack. This way, you can avoid problems that come up out of the blue at important times for operation.
Diagnosing and Resolving Common Issues
When water gets between the pin and the plug, it causes rust, which can lead to intermittent electrical contact. Take the link apart and look at it to see if the pins have changed color or grown something. To clean rusted pins, use contact cleaner and fine sandpaper. Then, check to see if the seal was broken when it was put in. Get rid of any seals that are broken and put everything back together with fresh dielectric grease. If the rust doesn't go away, water is getting in. The cable needs to be changed because the water is moving along the wires.
The seal has broken if you can see water inside the link housings. You need to look in both places to see if water got in through the wire or the made contact. If there are cable entry leaks, it means that either the cable is too thin or the overmolding is broken. On the other hand, interface leaks happen when there isn't enough force, when the O-rings are broken, or when the surfaces that close are dirty. It is more important to fix the problem at its source than to drain and reconnect, because insulation and rust break down faster when they are exposed to the same conditions over and over again.
Conclusion
When it comes to LED lights, green energy, and industrial automation, how effective a system is and how much it costs to keep depend on how well M10 PA66 waterproof connectors are installed. What you need to know about the PA66 material, how to fit these waterproof connectors, and making sure you follow the power specs is to get the most out of them. This step-by-step guide shows engineering teams and installation crews how to avoid common mistakes that hurt the security of the seal, from making sure every part is there to testing it one last time. You can keep important electrical lines safe from water, vibration, and changes in temperature if you take the time to put things the right way. This will keep the system running longer and cut down on expensive calls.
FAQ
What is the maximum operating temperature for M10 PA66 waterproof connectors?
Since these M10 PA66 Waterproof Connectors can work in ranges from -40°C to 150°C, they can handle places like the north that are very cold and the south that are very hot. The thread quality and seal tightness don't change because the PA66 material stays the same size throughout this range. Long-term exposure to higher temperatures might not be a problem, but using something above its grade for a long time will make it age faster and might make it less waterproof.
Can these connectors withstand saltwater environments?
Since the gold-plated brass pins and PA66 housing don't rust easily from salt spray, they can be used near the water. You can get rid of salt buildup that could finally get through seals through capillary action if you clean often. When installing things for marine use, marine-grade dielectric grease is helpful because it guards against corrosion even more than normal grease.
How do I verify a proper waterproof seal after installation?
To be sure, submersion tests are the best way to go. Soak the plug for 30 minutes in water, then take it apart and check the inside to see if there is any water. These tests are faster when they are bought, but they cost a lot of money. For most setups, you can believe what you see by making sure the mats are level and the right amount of torque is being used. Testing by submersion on a regular basis also proves the methods.
Contact Cablein for Your Waterproof Connector Requirements
Cablein has M10 PA66 waterproof connectors that are already put together at the factory. By using these connections, you can avoid making mistakes with the wiring in the field and get the job done faster. Our engineering team can help you with any technical question, from picking out the right product to making a one-of-a-kind wire assembly. You can be sure you will get the exact setup your app needs this way. Our plugs are approved by groups like ETL, CE, RoHS, and ISO9001:2015 to make sure they meet strict international quality standards. When you buy a lot, we also offer low prices. We have a lot of M10 PA66 waterproof connectors in stock because we are an experienced manufacturer. Standard setups can be sent out in 7–10 days. With the fastest response times in the business, our OEM/ODM services are also very adaptable and can meet unique needs. Get in touch with nick@cableinco.com right away to talk about your project and find out how our waterproof connecting choices can help your gear stay stable in rough conditions.
References
1. Chen, W., & Liu, S. (2021). Performance Analysis of Polyamide 66 in Harsh Industrial Environments. Journal of Industrial Materials and Technology, 45(3), 178-192.
2. Harrison, P. T. (2020). Waterproof Connector Design and Installation Best Practices for Outdoor Electronics. Electrical Engineering Standards Quarterly, 28(2), 56-71.
3. Nakamura, K., & Schmidt, R. (2019). Comparative Study of M10 and M12 Circular Connectors in Automation Applications. Industrial Connectivity Review, 33(4), 412-429.
4. Rodriguez, M. (2022). Long-term Reliability Testing of IP67-Rated Connectors in Marine Environments. Corrosion Engineering and Protection Monthly, 19(1), 88-103.
5. Thompson, J., & Anderson, L. (2020). Field Installation Techniques for Reducing Waterproof Connector Failures. Electrical Contractor's Technical Journal, 52(6), 234-248.
6. Wang, H., Chen, Y., & Li, X. (2021). Thermal Performance and Material Selection for Low-Voltage Power Connectors. Renewable Energy Systems Engineering, 14(3), 301-317.