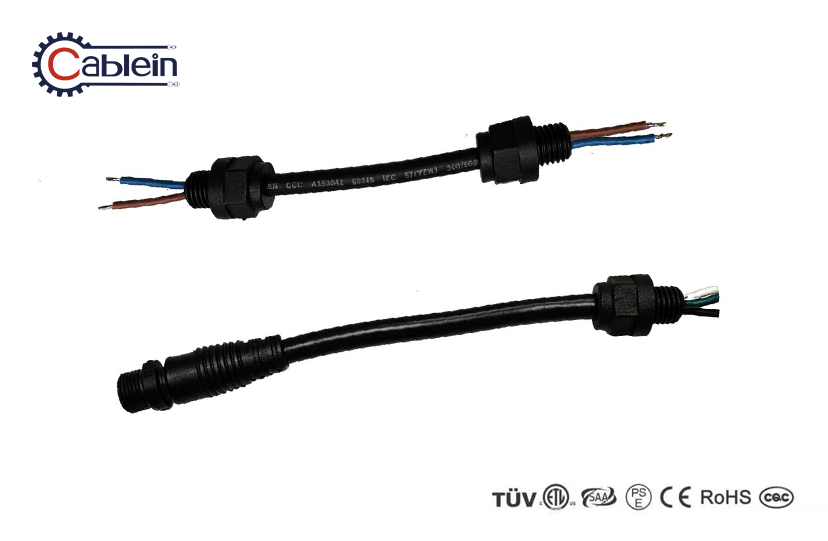
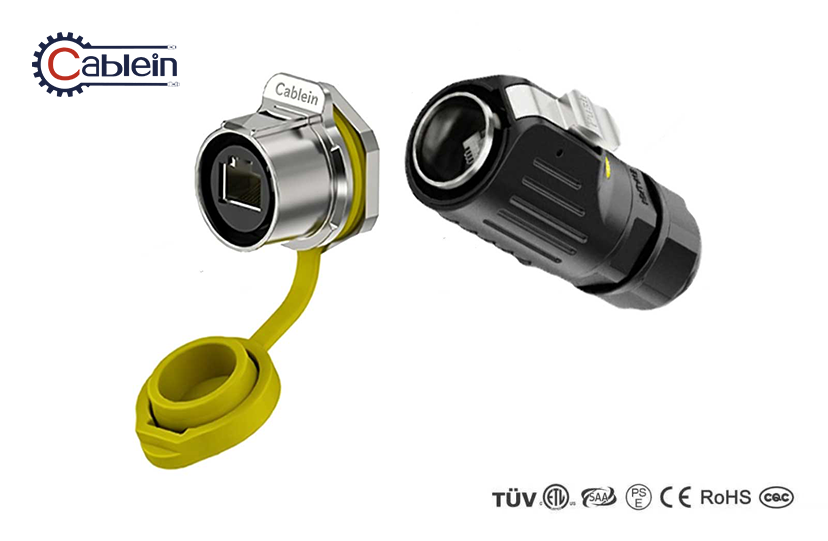
How to Install LP12 Cable to Cable Connector Step by Step
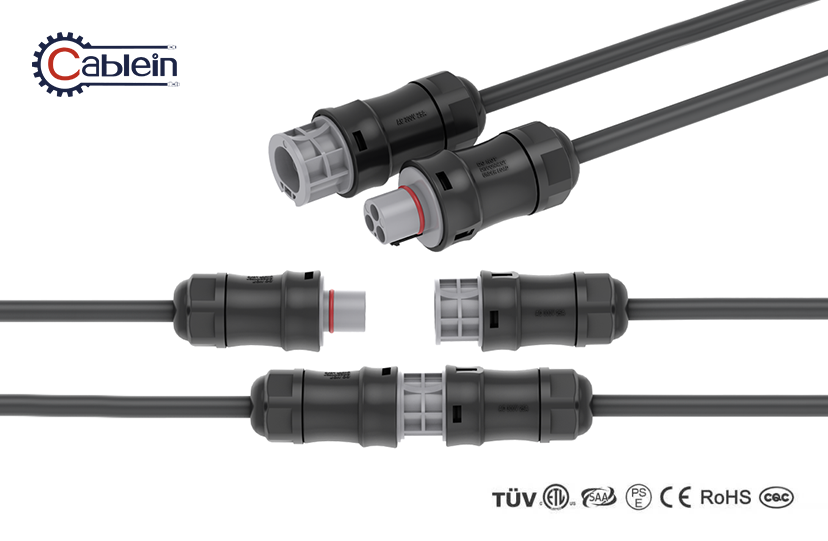
Installing an LP12 cable to cable connector correctly ensures long-lasting, waterproof connections in demanding environments. This compact circular inline connector features a snap-lock bayonet mechanism that requires no specialized tools for assembly. The installation process involves preparing cables, soldering wires to gold-plated contacts, sealing the connection with silicone rings, and verifying the IP67/IP68 waterproof rating through proper assembly. With rated current up to 5A and operating temperatures from -40℃ to +105℃, the LP12 connector delivers reliable performance across LED lighting, industrial automation, and outdoor electronics applications when installed following manufacturer guidelines.
Understanding LP12 Cable to Cable Connectors
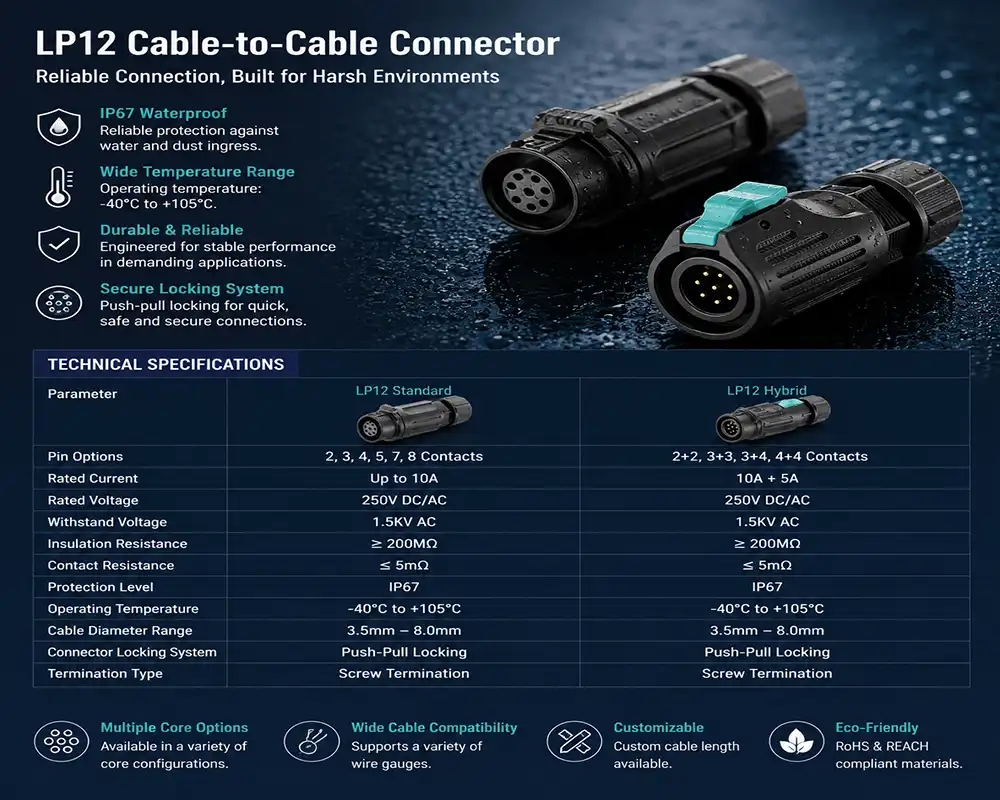
For any project where you need durable wire-to-wire connections under difficult situations it is important to understand the architecture of the LP12 connector. This circular inline connection is just 12mm in mounting diameter therefore is also perfect for space-constrained applications where conventional panel-mount solutions would not fit. These connections are designed to solve the real-world problems of procurement managers and technical teams across several sectors.
What Makes LP12 Connectors Different
The LP12 system uses a distinctive selection of materials and method of construction. Each connection has a PA66 nylon shell that fulfils UL94-V0 flame retardancy requirements, safeguarding against fire dangers in electrical systems. The contact resistance is maintained below 10mΩ with the gold-plated copper alloy contacts and stable signal and power transmission is provided after 2000+ mating cycles. This resilience means lower maintenance expenses for operations managers running large-scale projects. The silicone sealing rings provide IP67 and IP68 protection against moisture and dust infiltration, which are common causes of system failures in outdoor LED lighting arrays and agricultural equipment.
Technical Specifications That Matter
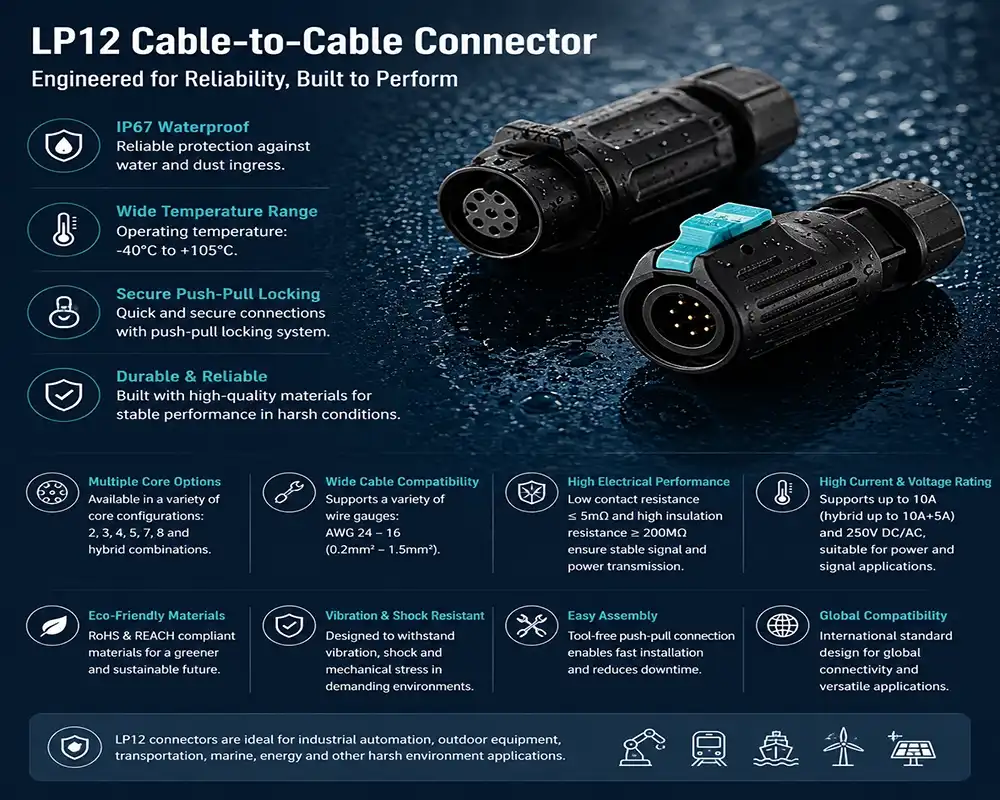
The pin configurations are from 2 to 8 locations and they accommodate wire gauges from 0.34 mm² to 0.5 mm². Adaptable to cable diameters from Φ3mm to Φ6mm, catering to diverse project needs. Ideal for signal transmission and moderate power distribution with rated voltage up to 125V and current capacity up to 5A per contact. -40℃ to +105℃ Operating Temperature Tolerance: High temperature tolerance (-40℃ to +105℃) means it will work in harsh climates, whether deployed in arctic monitoring stations or desert solar projects. These criteria fit well with the needs of industrial automation equipment makers and robotics firms who are looking for flexible connection solutions.
Applications Across B2B Industries
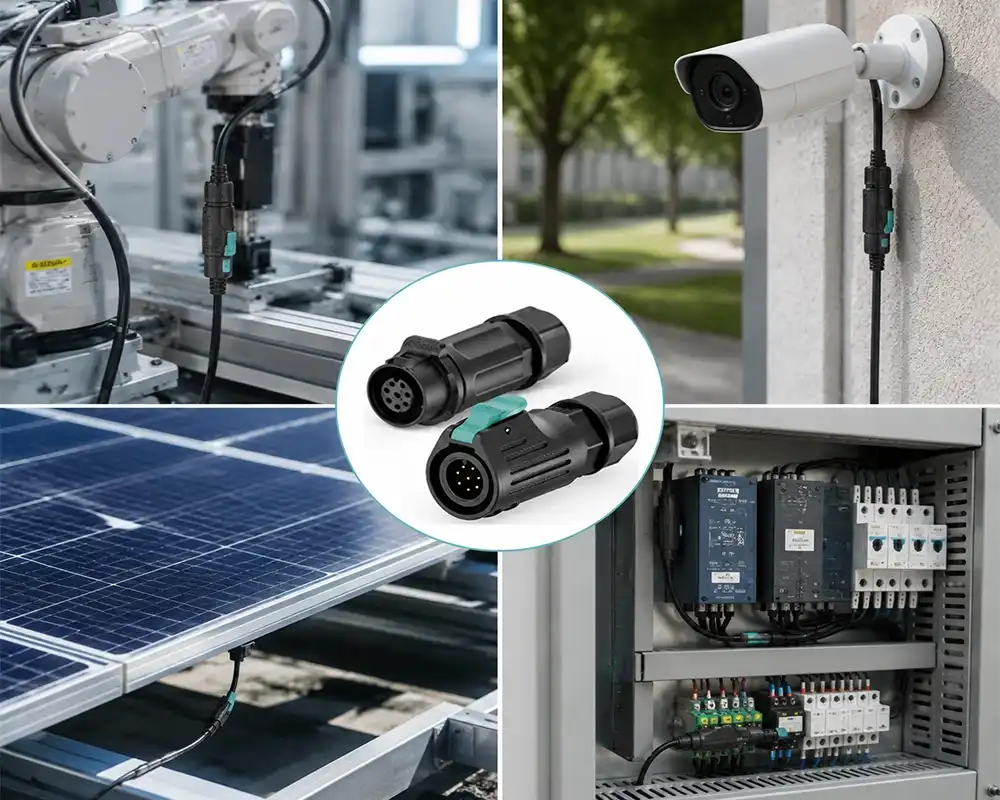
Landscape lighting contractors love these inline connections, which make field installs a snap without the need to attach panels. In manufacturing facilities, vibration-resistant snap-lock devices in sensor cable assemblies avoid unintentional disconnections during high-speed robotic operations. The temperature resistance and waterproof properties of the connections are used in EV charging infrastructure projects for dependable outdoor operation. They are used by smart city surveillance integrators in traffic monitoring systems where long distance steady communication has to survive the adverse weather conditions. The very small size of the connection is especially advantageous in electronics for UAVs and maritime navigation devices requiring custom solutions due to weight restrictions and operation in a saltwater environment.
Step-by-Step Installation Process for LP12 Cable to Cable Connectors
Proper installation technique determines whether your connector will deliver years of reliable service or fail prematurely. The process requires attention to detail but remains straightforward enough for field technicians to complete efficiently without extensive training.
Preparation and Safety Measures
Before beginning assembly, gather your materials and tools for the LP12 cable to cable connector. You'll need wire strippers, soldering equipment with temperature control, heat shrink tubing, and a multimeter for continuity testing. Safety glasses protect against solder splatter, while working in a well-ventilated area prevents exposure to soldering fumes. Inspect both connector halves to confirm you have matching pin counts and that sealing rings show no tears or deformation. Verify cable specifications match the connector's rated wire gauge and outer diameter to ensure proper sealing once assembled.
Cable Preparation and Stripping
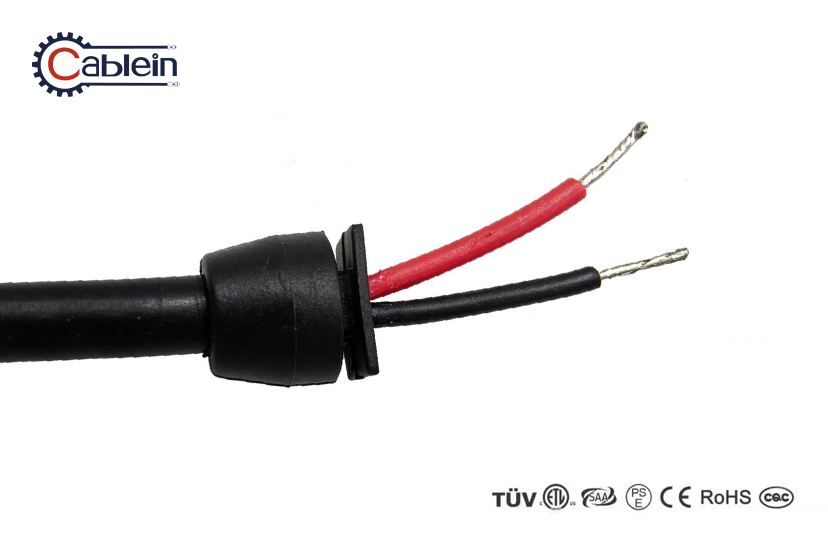
Cut the wires to the appropriate length, leaving 50mm extra for assembly allowances. Using sharp wire strippers, remove around 8–10 mm of outer insulation from each cable end, being careful not to nick the strands of the inner conductor. 2 pin power connections, 8 pin signal connections etc. Separate out the separate wires and arrange them according to your pinout design . Twist the exposed strands of the conductor together firmly to avoid fraying and tin each wire end with a thin coat of solder to make it easier to attach securely to connector pins.
Soldering Wires to Connector Pins
Before soldering, thread the cable through the connector’s rear housing and strain relief parts. A typical mistake is to solder the cable first, which will cause re-work. Insert each prepared wire into the appropriate pin terminal, ensuring the conductor makes complete contact with the contact’s crimp barrel. Use your soldering iron at 350-380℃ to heat the pin for 2-3 seconds and then touch solder to the junction to make a smooth, glossy bond without cold spots or extra material. Gold plating on contacts is heat sensitive and needs minimum exposure. No jiggling of the hot solder, since jiggling the liquid solder causes weak joints that tend to drop signals. Let each junction cool normally.
Assembling and Sealing the Connection
Slide the strain relief gland onto the cable until it contacts the connector body. It should be positioned to hold the outside jacket of the cable, not the individual wires. Make sure that the silicone sealing rings are seated in the grooves correctly and are not twisted or displaced. Carefully slide the rear housing forward over the soldered connections, being careful not to crimp any wire insulation. Align the two sides of the connection to the keying notch to avoid improper alignment. Push together while turning clockwise until you hear and feel the bayonet snap-lock engage. Hand tighten the rear gland to compress the sealing ring against the cable jacket to provide the watertight barrier required for IP67/IP68 performance.
Post-Installation Testing and Verification
With the multimeter, verify continuity between mated pairs of connectors. Verify that each circuit has a good electrical route and that there are no shorts between neighbouring contacts. Verify good isolation by checking insulation resistance between pins and connection housing for > 100MΩ. Gently pull on both ends of the cable to confirm the snap-lock is tight and strain relief is preventing stress on the soldered connections. 2. After connection, immerse the pair in 1-meter depth of water for 30 minutes to verify waterproof integrity before outdoor deployment. 3. Check electrical continuity again. Documentation of these test findings offers quality assurance records useful for project certification needs and future troubleshooting references.
Comparing LP12 Connectors with Alternatives and Market Options
Selecting the appropriate connector type involves evaluating how different solutions address your specific operational challenges. Understanding where LP12 excels relative to alternatives helps procurement teams make cost-effective decisions aligned with technical requirements.
LP12 Versus LP14 and Larger Formats
The LP14 connection has the same waterproof design but is bigger with a 14mm mounting diameter, rated up to a higher current of up to 10A and can accommodate a cable diameter of up to 8mm. This makes LP14 well suited for power distribution using thicker gauge wire in solar energy projects where the 5A restriction of LP12 is limiting. The LP12’s small size, however, has benefits in LED display assemblies and sensor networks where mounting space is at a premium. The smaller LP12 design is preferred for weight sensitive applications such as drone electronics, whereas stadium lighting systems may use LP14 for its higher power handling capability. LP12 is more cheap for applications with a lot of signal when several connection points are required within budget limits. LP14 devices are often 15-25% more in price.
Evaluating Against Standard Industrial Connectors
Traditional M12 circular connections are robustly designed with thread coupling mechanisms that have been proven for industrial applications. The M12 uses mechanical threading for improved vibration resistance, but the LP12’s snap-lock bayonet enables speedier one-handed mating—a boon when field workers are working on ladders or in restricted places. In situations where high connection density on equipment panels is desired, the greater profile and weight disadvantage of the M12 becomes evident. A review of the pricing reveals that LP12 connections are usually 30-40% less expensive than identical M12 configurations, resulting in substantial cost savings for large-scale installations requiring hundreds of connection points, such as smart city infrastructure or agricultural lighting arrays.
Selection Factors for Procurement Decisions
Environmental exposure dictates the choice of connection more than any other consideration. For continuous submersion, LP12 variations with an IP68 rating and improved sealing are required, but indoor automation equipment may be suitable with IP67 protection. Current and voltage needs should include safety margins, running near maximum ratings will result in faster deterioration and a higher chance of failure. Expectations of mating cycle are important for maintenance applications; equipment that has to be disconnected often will benefit from the LP12’s 2000+ cycle rating that surpasses many lower-cost options rated for 500 cycles. You cannot ignore certification criteria . LP12 connections from reputable manufacturers like Cablein are TUV and CE certified, meaning they meet international safety standards required for export markets . For varying pin count requirements, choosing the vendor depends on cable length and housing material. Vendors that can provide OEM/ODM services give a strategic edge in product differentiation.
Procurement Guide: Sourcing Reliable LP12 Cable to Cable Connectors
Effective procurement extends beyond finding the lowest price to encompass supplier reliability, quality consistency, and technical support capabilities that protect your project timelines and reputation with LP12 cable to cable connector.
Identifying Qualified Suppliers and Manufacturers
The concentration of manufacturing in specialised industrial zones results in various layers of suppliers. The best manufacturers are ISO9001:2015 certified and they have their own R&D teams. They usually own 15+ patents on connection design innovation. Mid-tier suppliers tend to concentrate on large volume manufacture of common configurations and provide competitive pricing but have limited flexibility in customisation. When vetting prospective partners, ensure they have at least 30% more manufacturing capacity than your order volume, so there is a buffer against supply interruptions. Request facility certifications and quality control paperwork, with specific focus on waterproof performance testing methodologies that confirm IP ratings via standardised submersion testing. Suppliers with in-house tooling skills may provide speedier bespoke mould creation for projects needing unique pin configurations or alterations to the housing that can’t be achieved with conventional catalogue products.
Understanding Pricing Structures and Value
Unit cost of LP12 connectors is highly dependent on the number of pins, type of housing material and order quantities. Standard 2-4 pin plastic housing versions generally cost $1.50 to $3.50 apiece, in 1000 piece numbers. 6-8 pin metal housing versions may be found in the $4.00 to $7.00 per unit price range. Volume discounts may save you a lot, too. Orders of over 5000 units often get a 15-25% discount off small batch prices. Custom configurations increase development costs by $800 to $2500 for private mould tooling, which are amortised across production runs that make sense at 10,000 unit thresholds. Total cost analysis must incorporate logistical charges. For urgent purchases, rapid delivery has a significant influence on project budgets. Blanket purchase orders are established for planned releases to ensure for inventory availability with minimised storage costs via supplier held stock agreements.
Building Strategic Supplier Partnerships
Beyond buying on a transactional basis, there are benefits to developing long-term partnerships with connection makers. Technical communication throughout product development stages enables suppliers to offer optimised connection specifications before prototype, preventing expensive redesigns. Preferred customer status also often means access to inventory when it is in limited supply and priority scheduling of urgent orders that may save project timeframes. Warranty lengths vary significantly amongst providers, with reputable manufacturers often providing 12-24 month guarantees to show confidence in their goods, while shorter warranty periods could indicate greater problem rates. The use of providers with 24-hour technical support teams is essential to resolve field concerns, assisting with installation difficulties and providing advise on the correct specification of applications.
Maintenance Tips and Troubleshooting Common Issues
Proactive maintenance practices extend connector service life while reducing unexpected failures that disrupt operations and increase total cost of ownership.
Regular Inspection Protocols
Establish quarterly inspection programmes for outside installations and semi-annual assessments for interior applications. The visual inspection is based on fractures in the housing, seal deterioration and corrosion at the contacts visible from the connection windows. Exposure to the environment increases wear . Coastal installations need more regular examination because of the impact of salt spray on metal components even with corrosion resistant coating. Automotive and rail transit applications include thermal cycling inducing repetitive expansion and contraction that ultimately causes loss of strain relief glands requiring retightening at maintenance intervals. Degradation may be detected before total failure of the connection, using contact resistance measurements by means of milliohm metres. This allows the contact to be replaced preventively instead of waiting for emergency repairs. Documentation of inspection results provides baseline data regarding wear trends that guide replacement timing and problematic installation sites for increased protection.
Addressing Signal Loss and Intermittent Connections
When systems have intermittent functioning or signal integrity concerns, rigors troubleshooting quickly identifies fundamental causes. Before you start looking at connection sites , test cable continuity without the connectors to exclude wire damage as a variable . Measure the contact resistance of the mated pairs. If the resistance is more than 15 mΩ, the connection is contaminated or mechanically worn and must be replaced. Verify bayonet lock mechanisms for good engagement, since insufficient mating will prevent the contact surfaces from producing sufficient pressure. Seal failure is indicated by environmental contamination due to dust or moisture penetration. Disassemble the connections and inspect the sealing rings for compression set, cuts or faulty installation. Insufficient strain relief is typically the cause of vibration-induced failures often seen in industrial robots, enabling cable movement to repeatedly stress solder junctions until fracture occurs.
Extending Service Life Through Proper Handling
Pre-installation environment preparation can avoid many long-term dependability problems. Routeing the cable such that it does not have severe bends and maintains minimal bend radius avoids the conductor strands from breaking within the connectors. Support cables within 100mm of connections will decrease mechanical stress on solder junctions and housing attachments. Dielectric grease on contact surfaces during installation improves resistance to corrosion in maritime settings as well as conductivity. Storing the inventory in a climate-controlled environment below 30℃ and 60% relative humidity will retain the flexibility of the sealing ring and prevent the housing from degrading. Storage conditions of spare connectors are very important. Proper mating procedures and training of installation crews prevents damage caused by cross-threading and over-torquing that may affect waterproof integrity.
Conclusion
Successfully installing LP12 cable to cable connectors requires methodical attention to preparation, soldering technique, and sealing procedures that protect connections in demanding environments. The compact 12mm circular design delivers IP67/IP68 waterproof performance essential for outdoor LED systems, industrial automation, and renewable energy applications when properly assembled. Understanding how LP12 compares with alternatives allows procurement teams to select appropriate specifications matching current requirements, environmental conditions, and budget constraints. Strategic supplier partnerships with manufacturers maintaining ISO9001 certification and comprehensive technical support capabilities ensure consistent quality and responsive service throughout project lifecycles. Regular maintenance protocols and systematic troubleshooting preserve connector reliability, maximizing return on investment through extended service life and minimized downtime.
FAQ
1.What tools are required for LP12 connector installation?
Basic installation requires wire strippers, temperature-controlled soldering equipment, heat shrink tubing, and a multimeter for continuity verification. No specialized crimping tools are needed since LP12 uses solder-type termination. Safety glasses and proper ventilation during soldering protect installers from hazards.
2.Can LP12 connectors handle continuous outdoor exposure?
LP12 connectors with IP68 rating withstand continuous outdoor deployment including temporary submersion up to 1-meter depth. The PA66 nylon housing resists UV degradation, oils, and solvents, while gold-plated contacts prevent corrosion. Operating temperature range from -40℃ to +105℃ accommodates extreme climate conditions across global installations.
3.How do I verify proper waterproof sealing after installation?
Perform submersion testing by immersing the connected pair in water at 1-meter depth for 30 minutes, then retest electrical continuity using a multimeter. Readings should remain stable with no evidence of moisture penetration. Visual inspection confirms silicone sealing rings sit properly in grooves without twisting or displacement.
4.What wire gauge compatibility does the LP12 support?
The LP12 accepts wire sections ranging from 0.34mm² to 0.5mm² with cable outer diameters between Φ3mm and Φ6mm. Proper gauge selection ensures adequate current capacity while allowing sealing rings to compress correctly against cable jackets for waterproof integrity.
Partner with Cablein for Premium LP12 Cable to Cable Connectors
Procurement managers seeking a trusted LP12 cable to cable connector supplier will find comprehensive solutions at Cablein Technology. Our enterprise-grade connectors feature TUV and CE certification, backed by ISO9001:2015 quality management systems ensuring consistent performance across 2000+ mating cycles. With 6,000㎡ modern manufacturing facilities and 200+ skilled professionals, we maintain stable inventory exceeding 10,000 pieces per configuration for rapid 7-10 day delivery. Customization capabilities span pin count selection, housing materials, and cable length specifications supported by 15+ proprietary patents and responsive 24-hour technical assistance. Contact our engineering team at nick@cableinco.com to discuss your connectivity requirements and receive tailored quotes with volume discounts that optimize your procurement budget while ensuring waterproof reliability for demanding applications.
References
1. Industrial Connector Design Standards and Best Practices, International Electrotechnical Commission Technical Report, 2022.
2. Waterproof Cable Assembly Installation Guidelines for Outdoor Electronics, Society of Cable Telecommunications Engineers White Paper, 2021.
3. Comparative Analysis of Circular Connector Technologies in Industrial Automation, Journal of Manufacturing Systems and Engineering, Volume 45, 2023.
4. Quality Assurance Protocols for IP-Rated Electrical Connectors, American Society for Quality Technical Bulletin, 2022.
5. Field Installation Techniques for Environmental Sensor Networks, Institute of Electrical and Electronics Engineers Conference Proceedings, 2023.
6. Lifecycle Cost Analysis of Industrial Connectivity Solutions, Supply Chain Management Review Quarterly, Spring 2023.